Expert Tips to Extend Results of Wood Floor Sanding
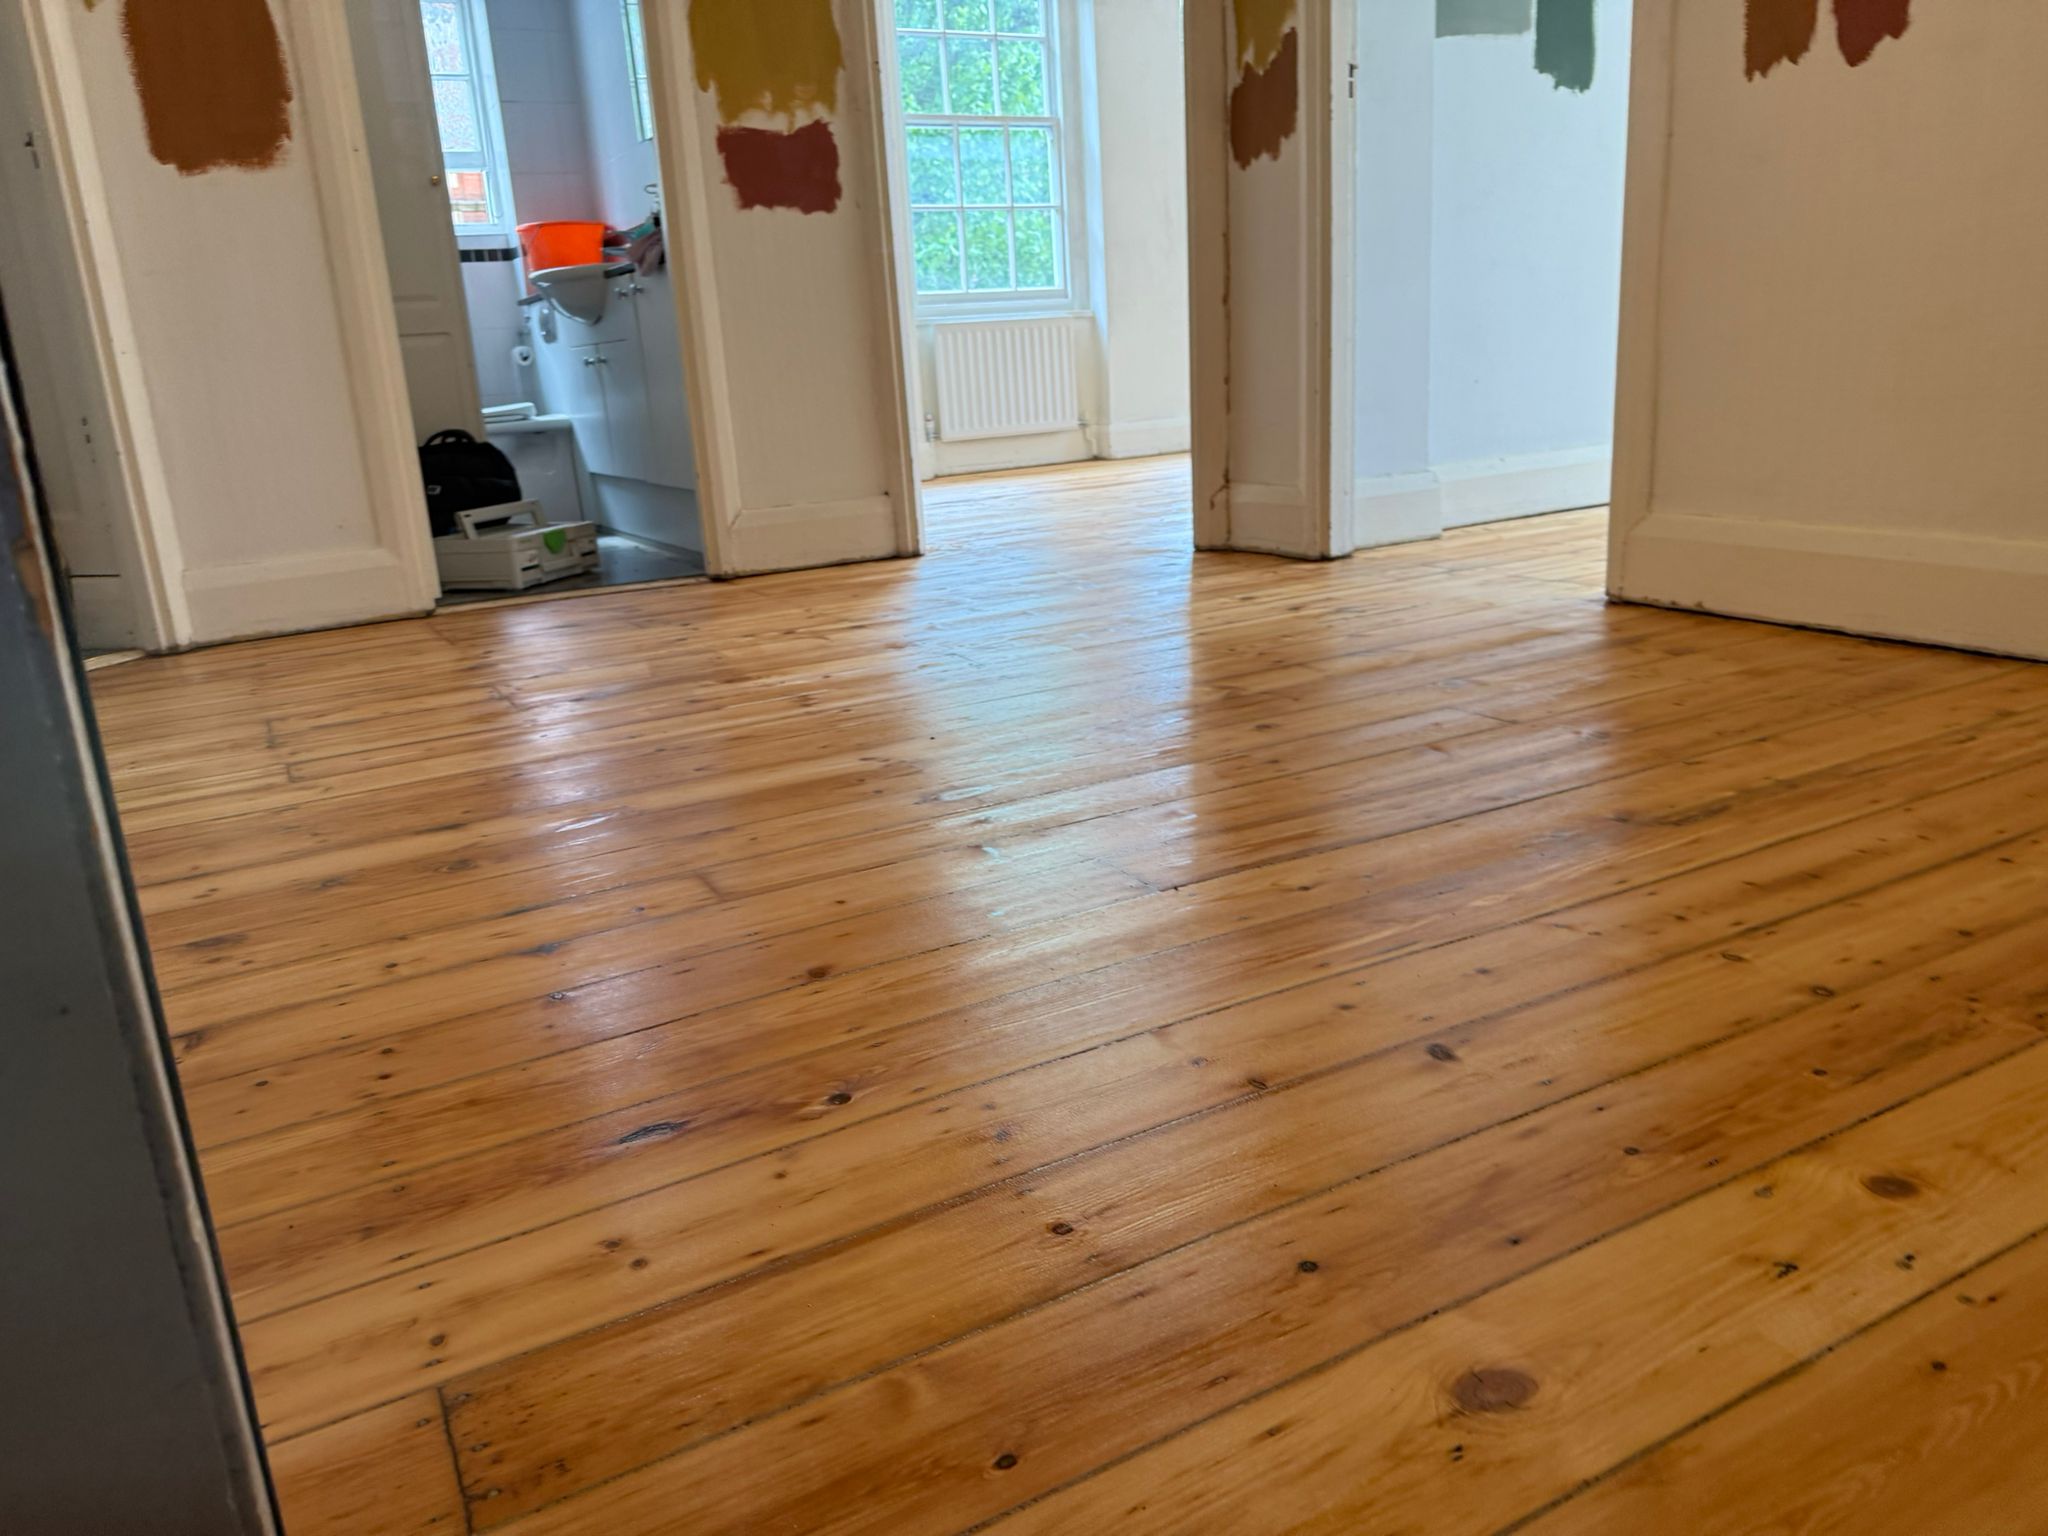
Imagine peeling back a worn-out carpet and discovering a beautiful canvas of solid boards waiting to shine. For many properties in Stamford Hill—especially Victorian terraces and Edwardian conversions—original timber flooring is a hidden asset. When properly rejuvenated, it adds warmth, character and serious value. Yet first-time renovators often feel daunted: What machines do I need? How dusty will it be? How long will the room be out of action?
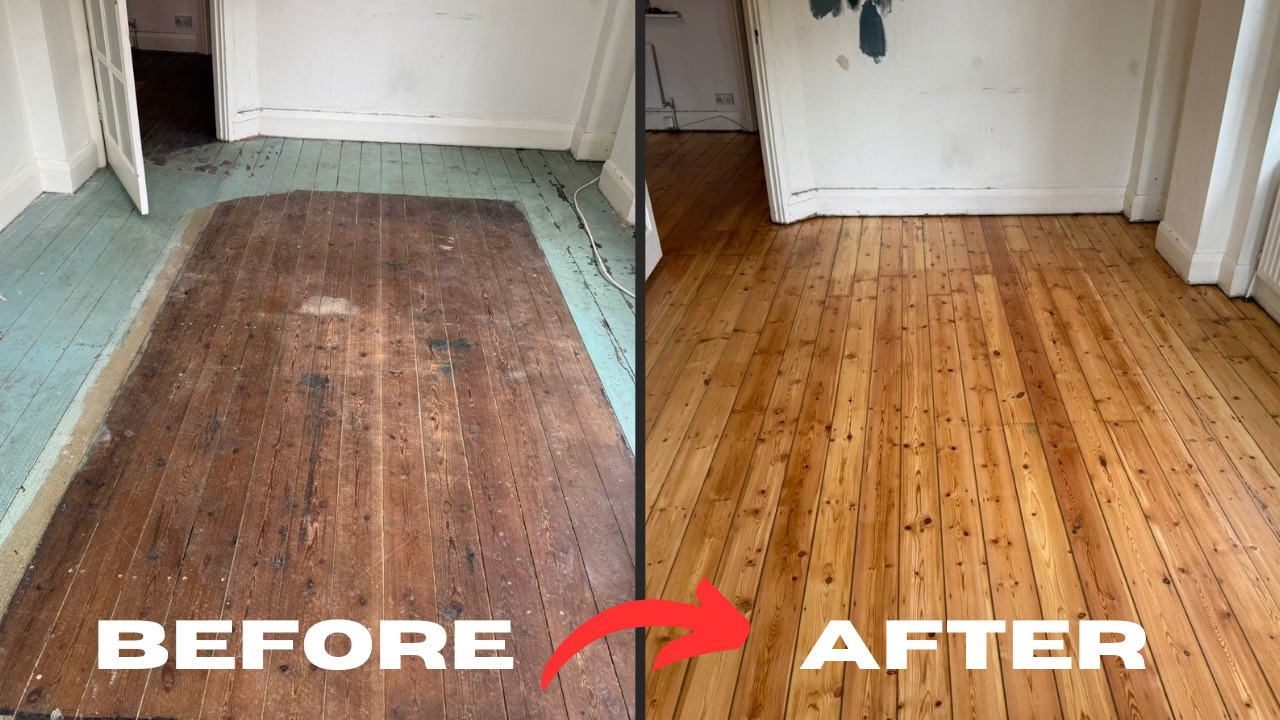
This beginner-friendly guide demystifies the entire process. You’ll learn how Wood Floor Sanding can transform tired boards, what preparation is essential, and whether to roll up your sleeves or call in the pros. By the end, you’ll have a clear step-by-step roadmap suited to Stamford Hill’s housing stock and climate.
1. What Exactly Is Wood Floor Sanding?
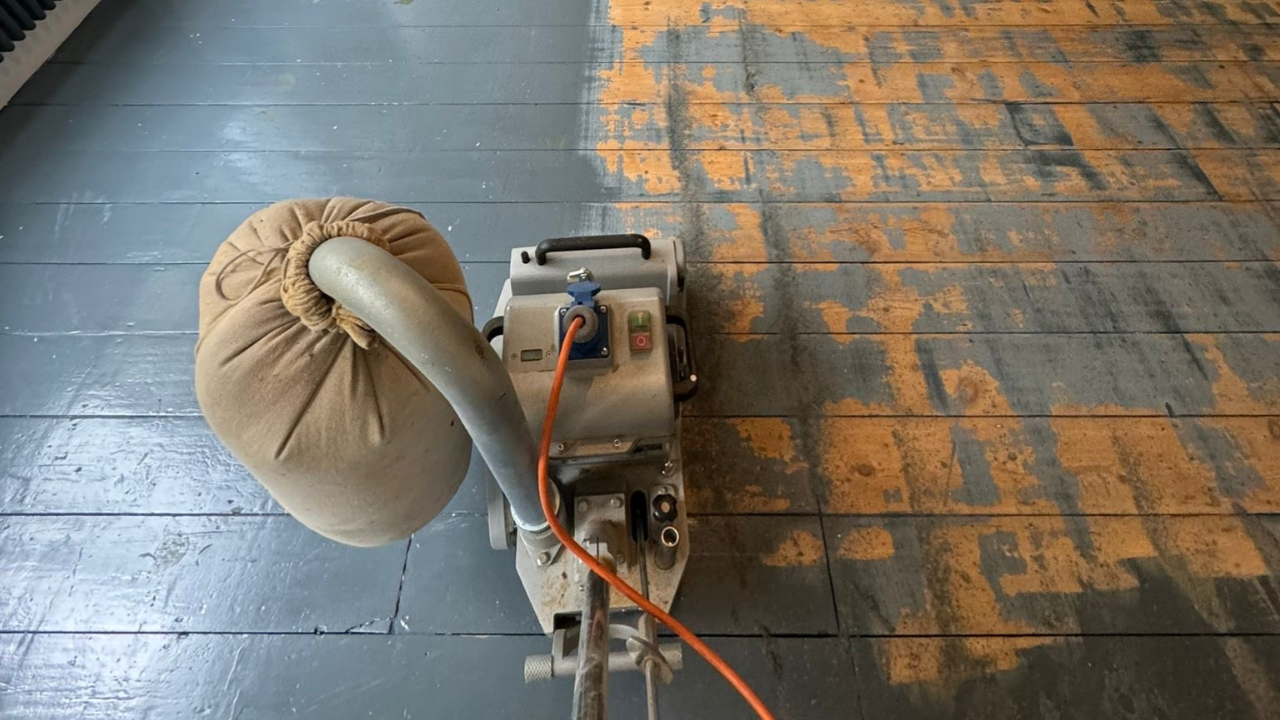
At its simplest, sanding is the controlled removal of the top surface of timber using progressively finer abrasives. The aim is to:
- Erase scratches, dents and old finish.
- Flatten cupped or warped boards.
- Open the grain so new sealants bond properly.
- Reveal the natural colour and figure of the wood.
A typical project removes 0.5–1 mm of thickness—enough to refresh without compromising structural integrity. Most solid boards in Stamford Hill are 18–22 mm thick, so they can be sanded several times over their lifetime when done correctly.
2. Why Bother? Six Compelling Benefits
- Instant Curb Appeal – A honey-toned floor visible through sash windows raises the entire façade.
- Healthier Indoor Air – Smooth timber traps less dust than fraying carpet.
- Easier Cleaning – Spills wipe away; no more shampooing rugs.
- Longevity – Properly finished boards last decades, reducing waste.
- Design Versatility – Stain, oil or lacquer to match any décor trend.
- Added Property Value – Estate agents regularly cite fresh timber floors as a premium-boosting feature in North-East London.
3. DIY or Professional? Weighing Up the Options
| Factor | DIY Route | Hiring Specialists |
|---|---|---|
| Equipment | Rental stores offer drum, edge and corner sanders, but may lack modern dust extraction. | Trade machines are heavier, faster and connect to 98% dust-free vacuums. |
| Skill Curve | Takes practice to avoid gouges and “dish-out” marks. | Trained teams achieve an even finish in one pass sequence. |
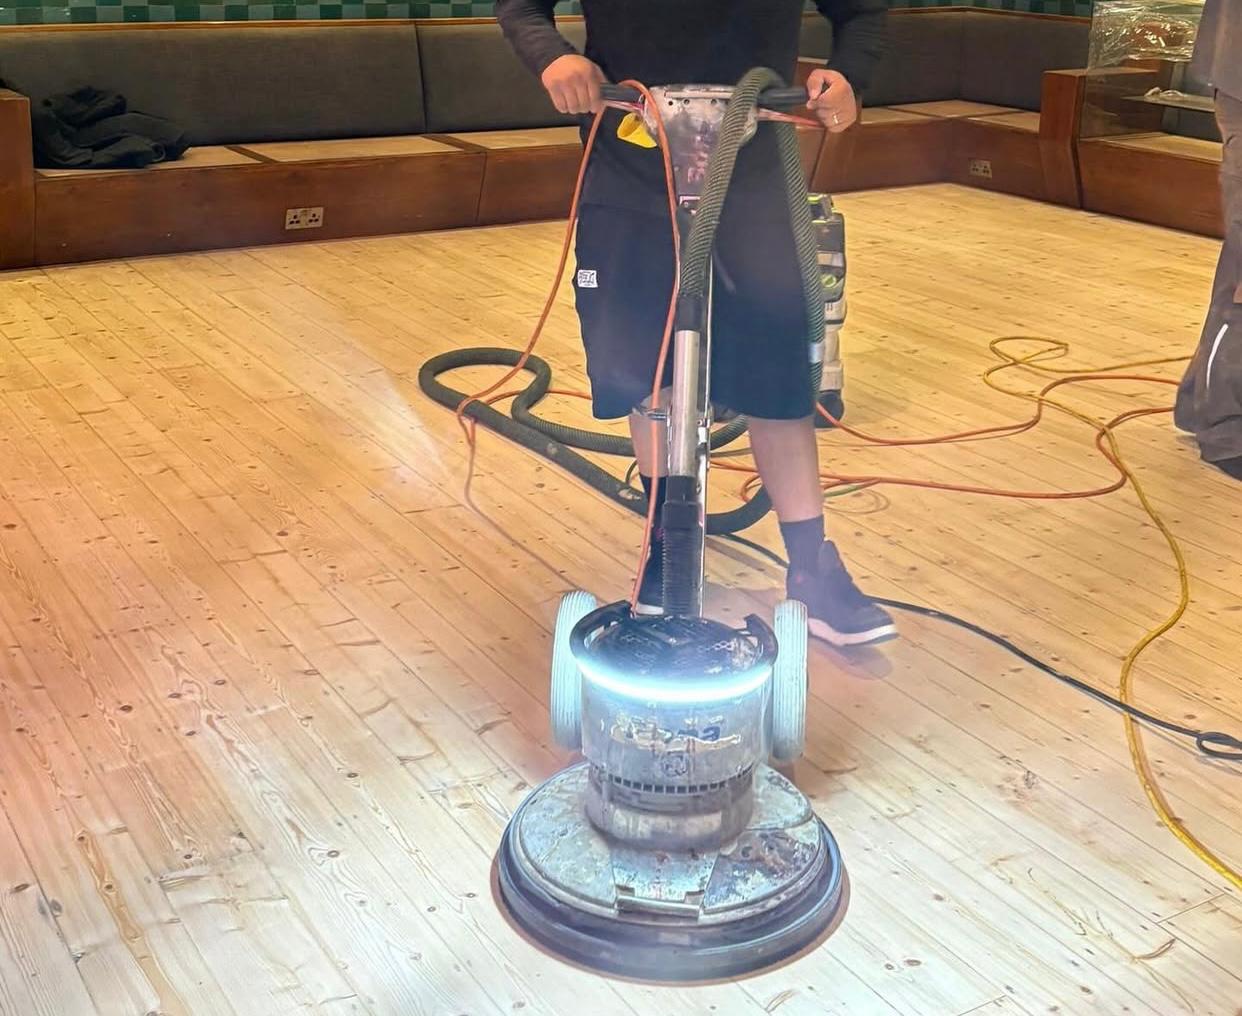
| Time | Expect a full weekend per average reception room. | Most pros complete in a single day, including sealing coat. |
| Finish Quality | Acceptable for secondary areas; may struggle on parquet. | Consistent colour, seamless across complicated layouts. |
| Cost | Roughly £180–£250 for two-day hire plus consumables. | £20–£25 per m², but includes labour, abrasives, fillers and sealants. |
| Mess & Stress | Dust management relies on your set-up and patience. | Industrial vacuums keep the house livable throughout. |
Unless you relish tackling loud machinery, most Stamford Hill homeowners opt for specialists—especially for intricate parquet inlays popular in pre-war flats off Amhurst Park.
4. Essential Tools and Materials Check-List
Should you decide to DIY, assemble the following:
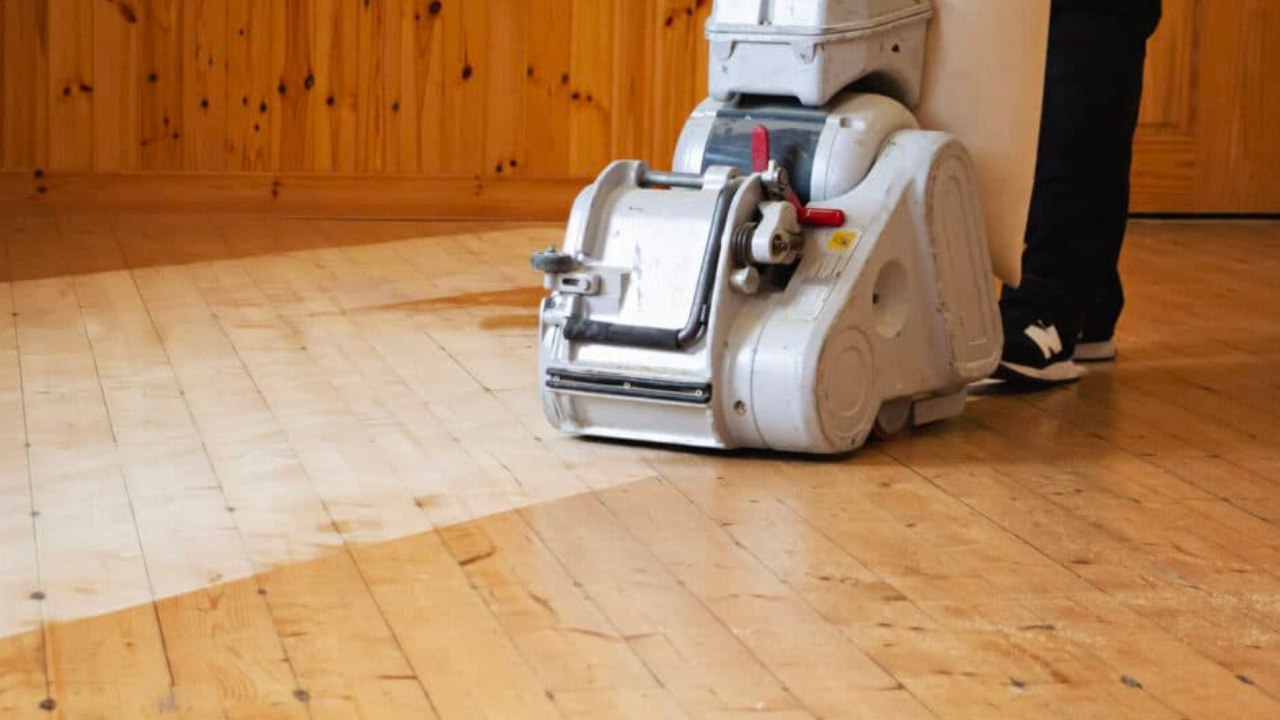
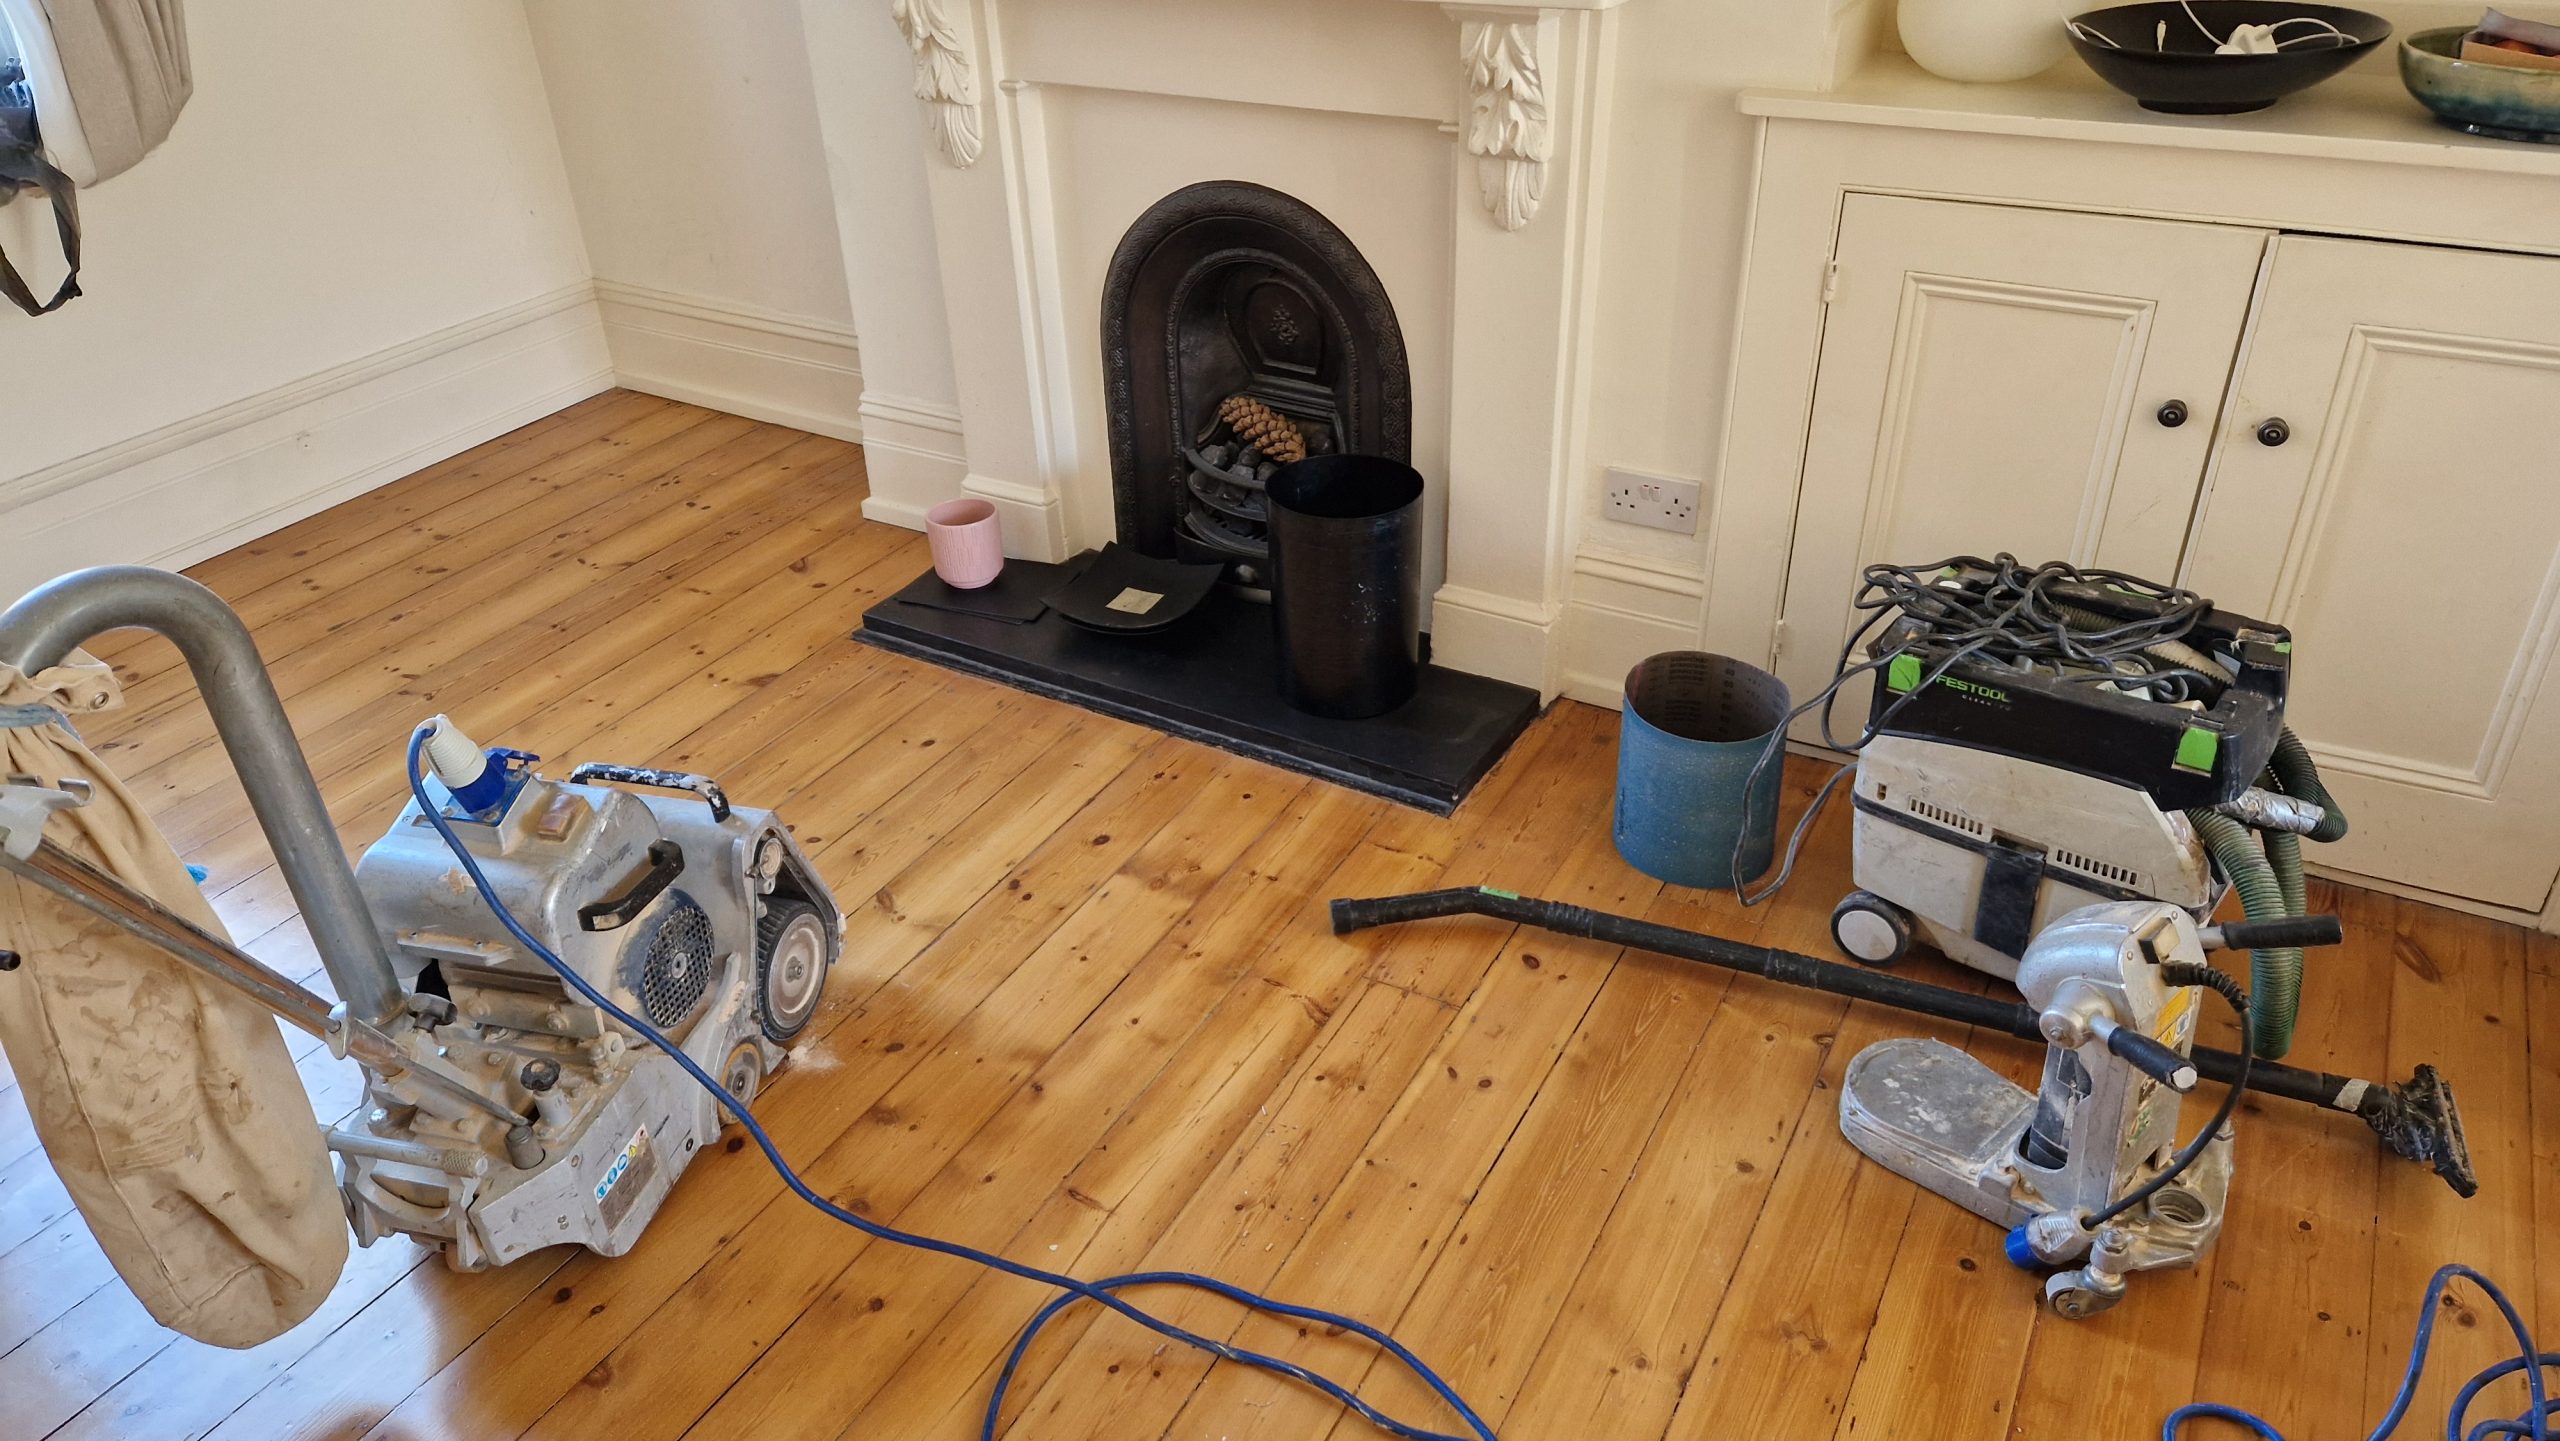
- Drum or Belt Sander – The main workhorse for open areas.
- Edging Sander – Reaches right up to skirting boards.
- Corner Sander / Multitool – Handles tight angles and under radiators.
- Abrasive Sequence – 40-, 80- and 120-grit papers are typical.
- Punch & Nail Set – Sink any protruding brads below the surface.
- Resin or Solvent-Based Wood Filler – For gaps wider than a credit card.
- Vacuum with HEPA Filter – Removes sanding dust between passes.
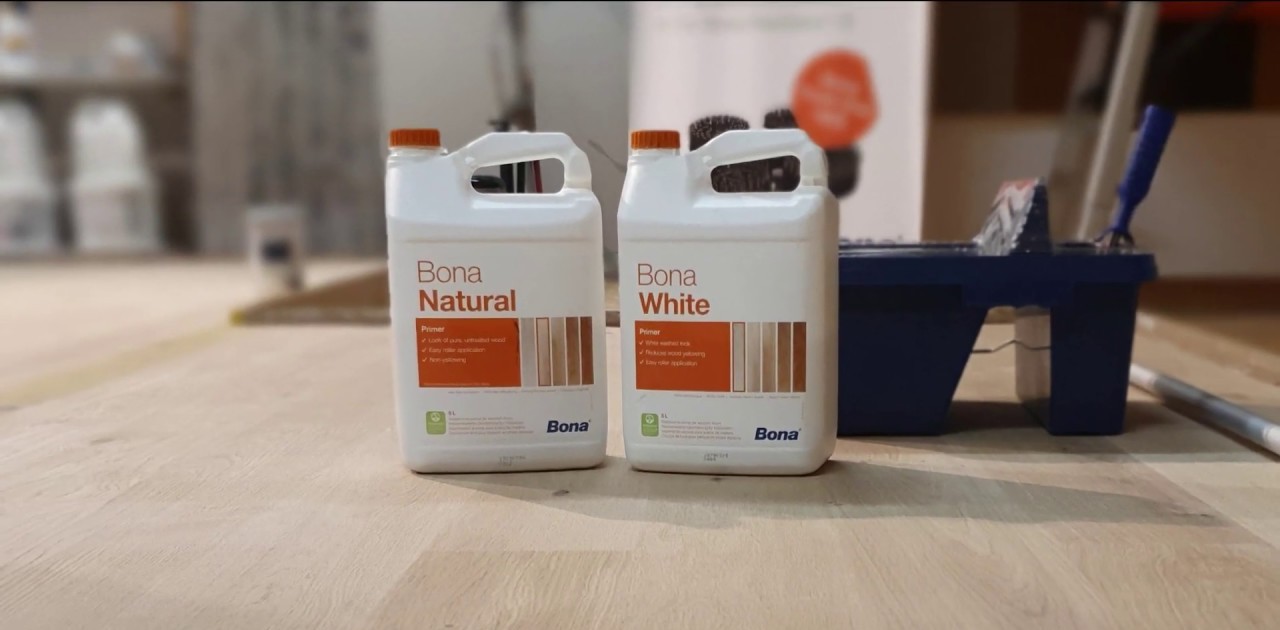
- Finishing Product – Hardwax oil for a natural look or polyurethane lacquer for heavy traffic.
- Personal Protective Equipment – Dust mask (FFP2), ear defenders, safety glasses.
Hiring the above locally still incurs delivery charges and a refundable damage deposit; budget accordingly.
5. Preparing the Room: Success Lies in the Set-Up
The golden rule: start with a blank canvas.
- Clear Everything Out – Furniture, curtains, even light fittings if you’re worried about dust-fall.
- Remove Old Coverings – Carpet grippers, staples and bitumen residue from lino must go.
- Inspect & Repair – Replace rotten boards, tighten loose screws and nail heads below the surface.
- Seal Gaps – For period homes with draughty sub-floors, rope caulking or flexible resin prevents future movement.
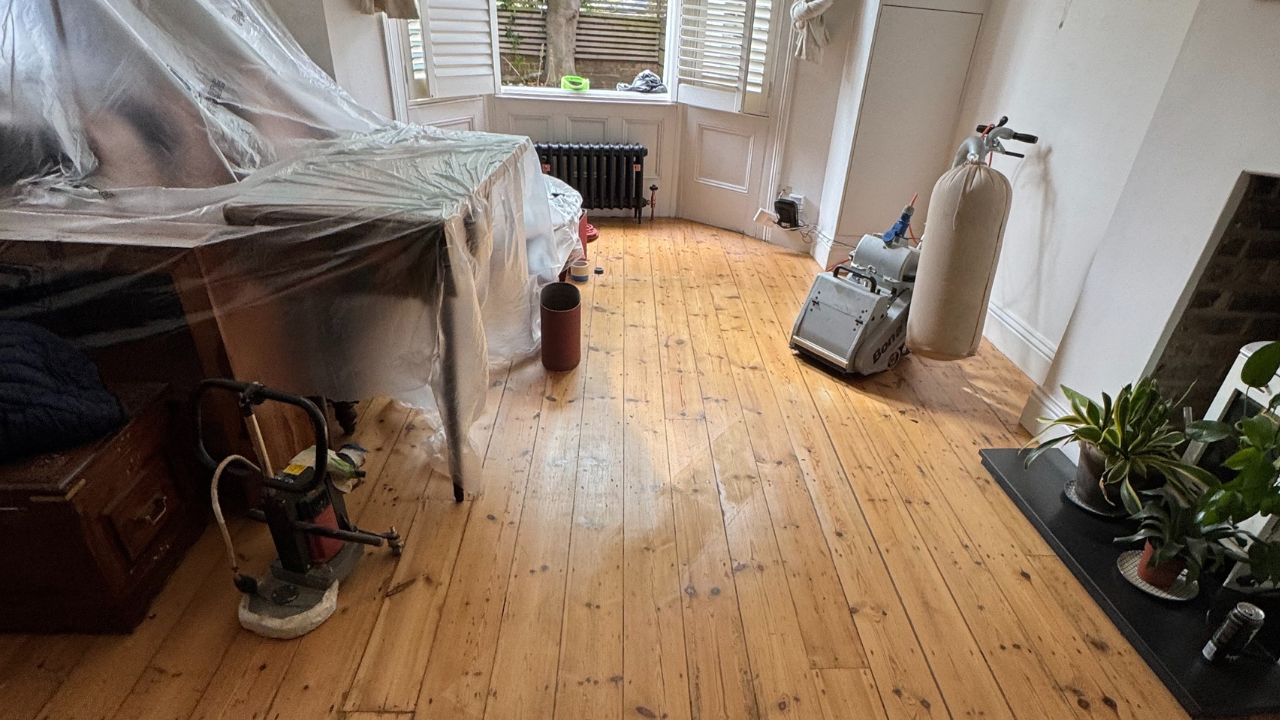
- Mask & Protect – Tape polythene over built-in cupboards and block under-door gaps to stop dust migration.
- Ventilation Strategy – Open sash windows on the lee side to create a gentle airflow without stirring debris.
Well-planned prep can shave hours off sanding time and reduce clean-up dramatically.
6. The Step-by-Step Sanding Sequence
6.1 First Cut (Coarse Grit)
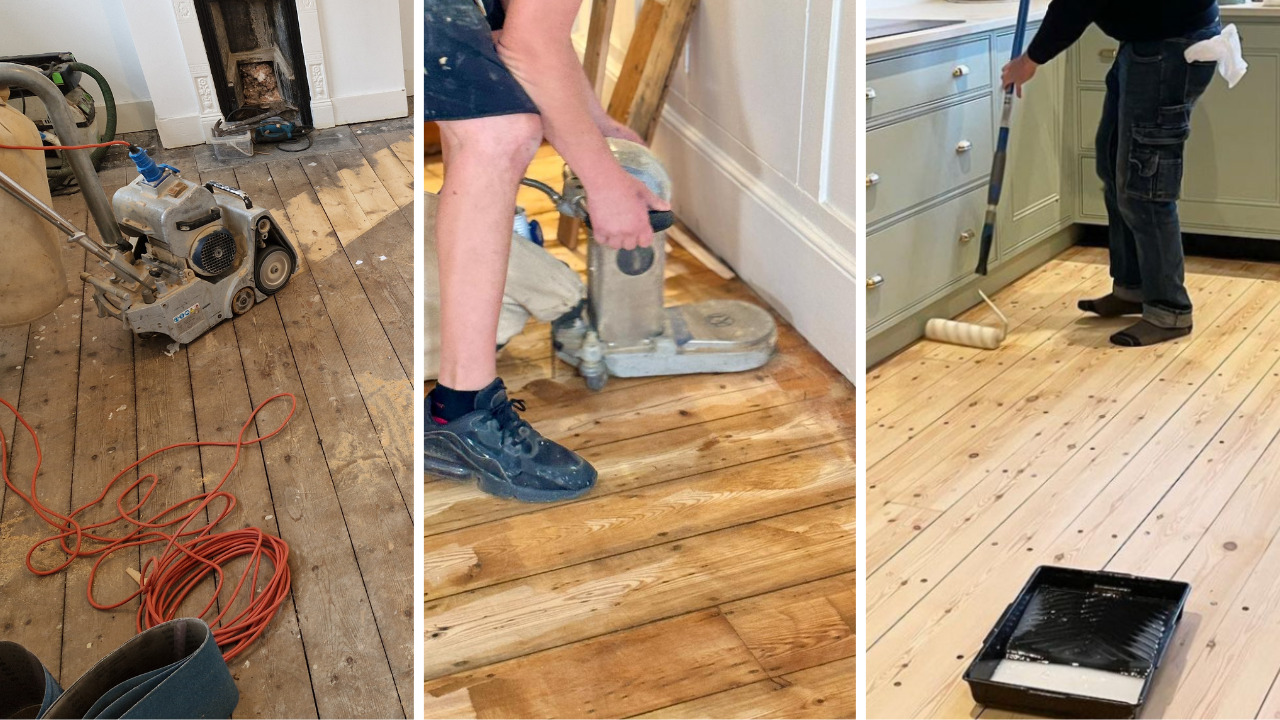
- Begin with 40-grit moving diagonally across the grain to remove finish quickly.
- Overlap each lane by one-third of the drum width.
- Keep the sander moving; stopping mid-way causes divots.
6.2 Second Pass (Medium Grit)
- Switch to 80-grit and sand in line with the boards.
- This evens out any cross-grain scratches.
- Vacuum thoroughly afterwards.
6.3 Edge and Corner Work
- Use the edging sander with matching grits.
- Blend carefully into the main field to avoid “picture-frame” effects.
6.4 Gap Filling
- Mix fine dust from your 120-grit pass with resin binder for a colour-matched paste.
- Press into joints using a flexible filling knife.
- Let it cure per manufacturer instructions (usually 30–60 minutes).
6.5 Final Pass (Fine Grit)
- Run 120-grit over the entire floor for a silky touch.
- Finish corners with a multitool fitted with a 120-grit pad.
6.6 Tack & Inspect
- Wipe with a slightly damp microfibre cloth to pick up remaining dust.
- Inspect under raking light; any swirl marks now will appear tenfold once finish is applied.
7. Choosing the Right Finish for Stamford Hill Lifestyles
| Finish Type | Appearance | Durability | Re-Coat Ease | VOC Level |
|---|---|---|---|---|
| Hardwax Oil | Natural, soft sheen | Good; can spot-repair | Simple | Very low |
| Satin Lacquer | Mild shine | Excellent; scratch-resistant | Needs full resand when worn | Low |
| High-Gloss Polyurethane | Mirror-like | Highest | Full resand | Medium |
| Coloured Stain + Clear Topcoat | Custom | Depends on topcoat | Complex | Varies |
Local Tip: Many North London families favour matt or satin hardwax oil. It complements period fireplaces, masks small scuffs and allows easy DIY patch-ups on hallway traffic lanes.
8. After-Care: Keeping That Just-Sanded Glow
- Wait the Cure Time – Oils take 24 hrs to dry; lacquers need up to 72 hrs before rugs go down.
- Felt Pads Are Your Friends – Affix under chair legs immediately.
- Dry Clean First – Microfibre mops trap grit without water.
- Use PH-Neutral Cleaners – Harsh detergents dull finishes.
- Top-Up Oils Annually – A quick buff-in coat restores lustre.
- Humidity Matters – Maintain 40–60 % RH to minimise seasonal gaps.
Follow these steps and you may not need another Wood Floor Sanding cycle for 10–15 years.

9. Common Newbie Mistakes (and How to Dodge Them)
- Skipping Grits – Jumping from 40 to 120 leaves deep scratches.
- Lingering in One Spot – Causes low “dished” pockets that collect finish.
- Ignoring Edge Swirls – They look ten times worse under gloss.
- Poor Dust Extraction – Debris settles back into wet sealant, leaving bumps.
- Choosing the Wrong Finish – High-gloss shows every paw-print in a busy household.
Avoid these pitfalls and your Stamford Hill neighbours will think you hired a master craftsman—even if you didn’t.
10. Frequently Asked Questions
Q1. How noisy is the process?
Belt sanders reach 90-95 dB. Notify close-quarter neighbours and plan daytime sessions.
Q2. Can engineered boards be sanded?
Yes, provided the top veneer is at least 3 mm thick. Check manufacturer specs before starting.
Q3. I found black bitumen stains—are they hopeless?
Not necessarily. Multiple coarse passes or a chemical remover often lifts them. Some homeowners embrace the patina for an industrial look.
Q4. What if a board splinters?
Spot-replace with reclaimed pine from salvage yards on Stoke Newington High Street for a near-perfect match.
Conclusion: Ready to Reveal Your Floor’s Hidden Character?
Whether you DIY or enlist local specialists, the rewards of Wood Floor Sanding are immediate: rooms feel brighter, cleaner and unmistakably high-end. With the guidance above, Stamford Hill homeowners can stride confidently into their first restoration—transforming tired boards into a timeless centrepiece that stands up to family life, dinner parties and everything in between.
If you’d rather skip machinery queues and guarantee a flawless finish, contact the award-winning team at Stamford Hill Floor Sanding today. From free site surveys to post-project maintenance kits, they’ll make every step of the Wood Floor Sanding journey smooth, dust-controlled and surprisingly quick. Your dream floor is just a sanding session away—book now and let your timber do the talking!